We've got one heck of a chalk paint furniture before and after makeover to show you! Keep reading and we'll share with you how easy it is to use chalk paint to update your own furniture!
Who doesn't LOVE a good Before & After furniture makeover, right? Furniture transformations are my absolute favorite! Seriously. I mean in less than 60 seconds you can look at two distinct pictures side by side- the old yucky one and the new updated one and instantly see the change! Sometimes those changes are subtle but sometimes they are magical, dramatic and stunning!
Disclaimer: This post may contain affiliate links to products I love and use everyday. This means that we receive a small commission for purchases that are made through these links. You may read our full disclosure for more info.
And those are my very favorite kind of painted furniture before and afters!
Because our eyes get big and our mouths say incredible things and our brains go "Man, I would have never thought to do that!" And then our creative juices start flowing and we imagine all sorts of possibilities for our own furniture that we would have never thought to try before!
That's the power of an amazing furniture flip! My hope is that this chalk paint furniture before and after will inspire YOU to try something new! To get you thinking, to motivate you to take action- to finally tackle that one furniture project or one room in your home that you've been dying to redo.
Because you know what? Every time I tackle a furniture elephant in the room I say, "Gosh I wish I would have done that sooner!" Every. single. time. Keep in mind that this particular furniture before and after may not be your exact style or the chalk paint colors might not match your color scheme. But, there may be aspects of this furniture flip that DO speak to you! So take the elements of these chalk paint techniques that you do like, tweak them to fit your style and make them your own! And be sure to pin this chalk paint furniture before and after or share it on Facebook so you can find this chalk paint tutorial easily whenever you need it.
Before I show you the after photos and tell you how I got this look, let me share with you real quickly 3 reasons why I love using chalk paint to paint furniture.
WHAT IS SO GREAT ABOUT CHALK PAINT?
#1 Chalk paint is a furniture paint that's designed to adhere to most surfaces which generally means there is no sanding required before you start painting your furniture. #2 That means you can update your furniture rather quickly! #3 Chalk paint dries to a matte finish and is extremely versatile! It easily distresses and depending on how you apply it, it can give you a smooth, blended or textured paint finish. And one of those texturized paint finishes is what we're going for for this particular dresser makeover...
CHALK PAINT FURNITURE BEFORE AND AFTER PHOTOS
This is it! The famous before picture. I found this Hepplewhite Highboy Dresser on Craigslist for just $30. This before picture, came right from their listing.
When I arrived to look at the dresser, I noticed that there were some deep scratches on the top of the dresser as well as scratches to the drawer fronts. Scratches are typical in used furniture and are an easy fix. So, don't let that prevent you from refinishing furniture you've inherited or found or own if it has scratches in the wood finish. When I arrived, I found out that they were not only selling THIS dresser but another identical dresser as well. TWO matching dressers! I was pretty giddy and I sure did purchase BOTH dressers!
It's fun to look at an outdated piece of furniture and decide how you are going to refinish it, but what happens if you have two visions for a piece? You know when you him and ha and go back and forth and between which paint color to use?... Sometimes it can be hard to decide how you want to redo your furniture. So, when someone is selling two matching pieces of furniture, it gives you the opportunity to refinish them differently. And you get to see your vision play out for both options! And that's exactly what happened!
So what did I with the second matching dresser? Something completely different! Do you remember those deep scratches I was telling you about that I found on the dresser drawers? I could have easily filled them in with this wood filler and then sanded the drawers down but I had another idea! If I created some old world texture on the drawer fronts it would- #1- Hide my scratched up drawer problem and.. #2 I'd have a super cool textured chalk paint finish for this dresser. So that's exactly what I did!
CHALK PAINT DRESSER BEFORE & AFTER
Here are a few after images of this chalk painted dresser makeover. What do you think?
How To Apply A Textured Chalk Paint Finish On Furniture:
For this particular texturized paint finish I first mixed my base chalk paint color with some Saltwash. If you're not familiar with Saltwash, it's a powdered paint additive that you add to your paint to make it even thicker. I wrote an entire post on How To Use Saltwash so if you haven't used this paint additive before be sure to check that post out- it has all kinds of tips and tricks that I think are so helpful! I'll also drop a little video in this post so you can watch me demonstrate this texturing furniture painting technique! Once the chalk paint and Saltwash were mixed together, I applied the chalk paint and Saltwash mixture to each dresser drawer with stippling brush strokes. A stippling brush stroke is a little bit like using a beauty blender to apply your concealer or foundation to your face or if you've ever used furniture stencils before, it's kind of like that same dabbing or bouncing motion. When you are stippling, you are pressing the paintbrush down onto the paint on your surface then you're bringing the paintbrush right back up. It is a down and up motion that creates peaks and valleys in your paint finish. You can watch me demonstrate this textured chalk paint technique here if you'd like ...
CHALK PAINT FURNITURE DEMO
Once the base coat on the dresser drawers were applied, I waited until it was about half dry. Then, I took my paintbrush and did a back and forth painting motion to knock down the peaks very lightly. This created a wonderful top flat texture for this furniture makeover! Once the base was dry, I painted a layer of chalk paint in Fluff over my grey base coat. And when my top layer of chalk paint was dry, I went over my drawers with a medium sanding block to expose some of the grey chalk paint underneath. Then, I mixed a little of Tea Rose chalk paintand a little bit of Mason Dixson Grey chalk paint together and painted that custom paint color over the very bottom drawer. When that was dry, I went back over that drawer with my sanding block again to expose both the white and the grey chalk paint underneath that drawer. The trim, the top and sides of this dresser were painted with Tea Rose, layered with a little bit of the Tea Rose and Mason Dixson Grey paint mixture. And finally dry brushed with Fluff chalk paint. The hardware was also painted in Fluff and the entire piece was sealed with GFHP in flat and my very FAVORITE applicator sponge.
MORE CHALK PAINT FURNITURE TECHNIQUES
When you are painting furniture with chalk paint, you'll notice that the chalk paint is pretty pigmented and a little on the thicker side.
This is why it's easy to create a textured chalk paint finish on furniture. It's almost like the paint does the work for you.
Almost!
But, gaining texture will also depend on the way you apply your chalk paint on your furniture with your paintbrush.
For example, painting in criss cross and every which way pattern will help the chalk paint build up texture simply by moving the paint around in all different directions.
MORE CHALK PAINT BEFORE AND AFTER IMAGES
Let's take another look at where this stunning chalk paint before and after started. It was scratched. It was brown.
And it was in bad shape.
But, now it looks amazing!
QUESTIONS & ANSWERS ABOUT THIS CHALK PAINT FURNITURE MAKEOVER If you have questions about this before & after furniture makeover, leave me a comment and I'll try to answer them!
MORE CHALK PAINTED FURNITURE IDEAS
If you enjoyed this chalk paint technique would you please pin or share it? Thank you! Click below to see a few more of my favorite chalk painted furniture projects!
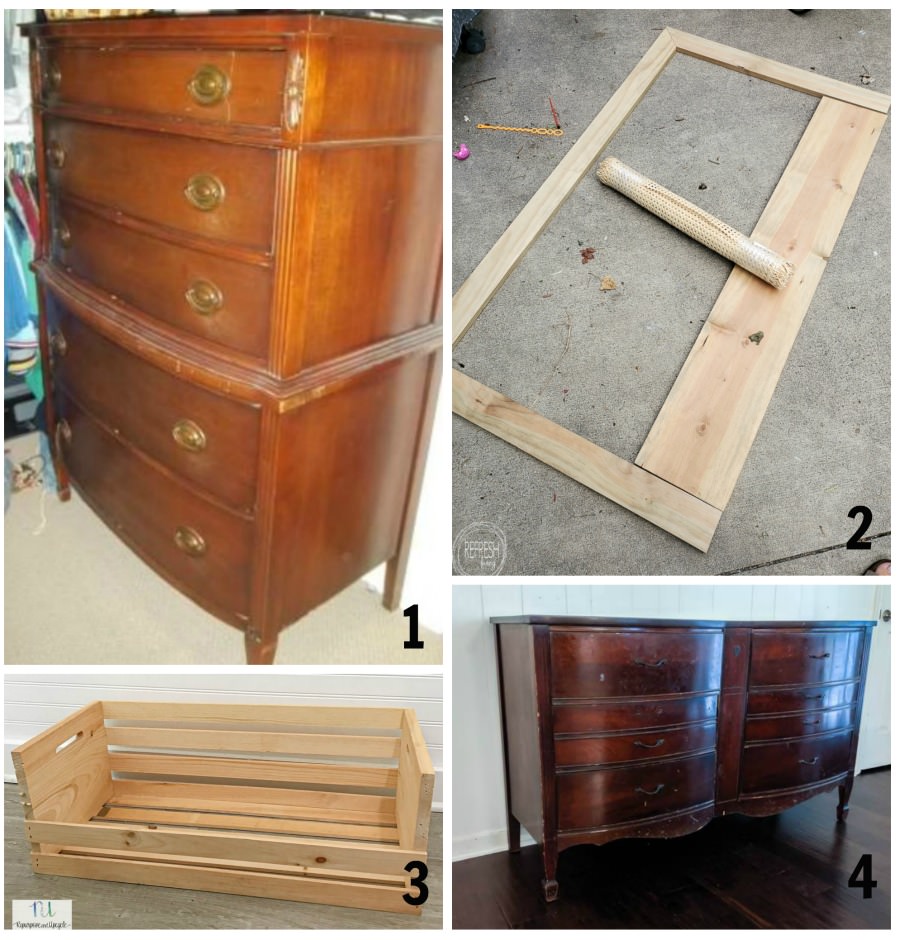
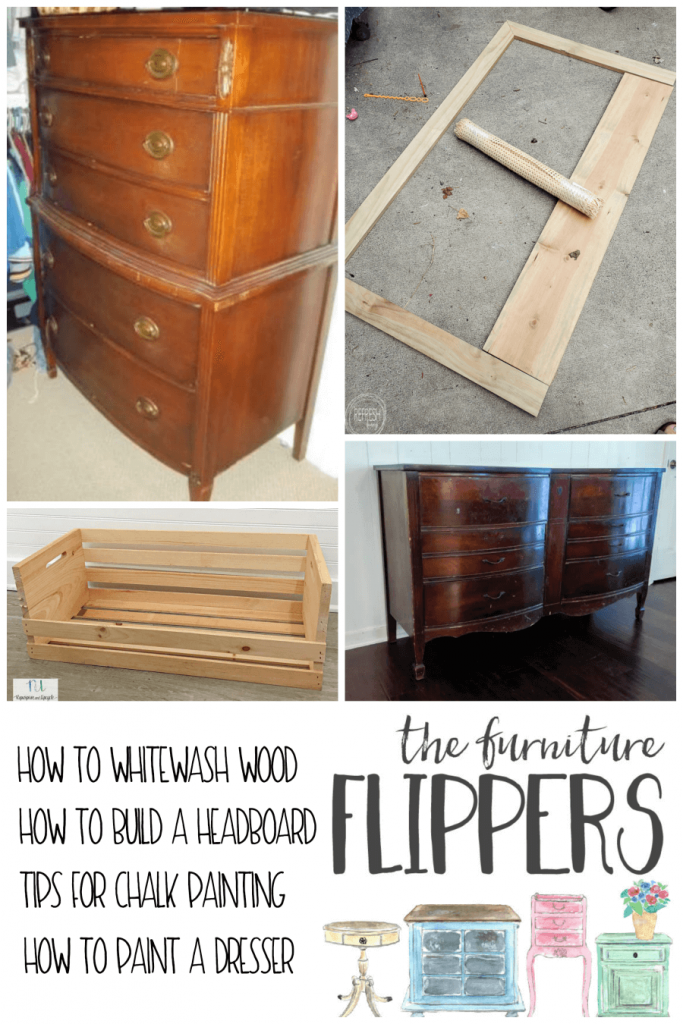
Before you go, some of my furniture flipping friends have some fantastic new furniture makeovers to share! See this incredible before and afters directly below!
Carrie is the owner and author of Thirty Eighth Street, a blog dedicated to furniture story telling. Filled with tutorials, tips and lots of furniture before and afters, Thirty Eighth Street was created to encourage and inspire her readers to see the full potential in unloved and unwanted furniture. Carrie's work has been featured at HGTV, The Huffington Post, Hometalk, Annie Sloan, Country Chic Paint, Redbook, General Finishes and has been published in BH&G Magazine. Carrie has been a judge for The Fab Furniture Flippin Contest ™ and is a regular contributor for Country Chic Paint and Pure & Original.


I've always been intrigued by the salt wash. You did a great job with it!
ReplyDeleteIt sure is fun to play with! Thanks, Lindsey!
DeleteI love the colors you chose and the texture makes this piece really stand out!
ReplyDelete